Learn Remote IoT VPC SSH On AWS With Raspberry Pi
Is the ability to remotely access and control your Internet of Things (IoT) devices, securely and efficiently, a game-changer for your projects? Remote IoT VPC SSH, particularly when paired with a Raspberry Pi and the power of Amazon Web Services (AWS), offers a paradigm shift in how we interact with the digital world.
The convergence of interconnected devices and the demand for scalable computing resources has propelled the adoption of AWS for remote IoT operations. This approach provides developers, hobbyists, and tech enthusiasts with unparalleled opportunities. By combining the Raspberry Pi's flexibility, AWS's robust infrastructure, and the secure connectivity of Secure Shell (SSH), users can craft sophisticated IoT solutions that were once unimaginable.
Imagine a scenario where you can monitor your home environment, control your smart appliances, or manage complex sensor networks, all from a remote location. Remote IoT VPC SSH empowers this vision. It is a technology that allows users to securely connect to IoT devices over the internet. By leveraging platforms such as AWS, users can harness the power of cloud computing to control IoT devices remotely via SSH. This guide focuses on setting up a remote IoT VPC SSH Raspberry Pi on AWS Free Tier for users, ensuring seamless connectivity and secure access to your devices.
Let's delve into the core components and essential steps required to establish a secure and functional remote IoT setup using a Raspberry Pi, AWS, and SSH. The goal is to provide a comprehensive understanding and equip you with the knowledge to build a system tailored to your needs. This article is designed to walk you through the essential steps and best practices for setting up remote IoT VPC SSH on AWS. The focus will be on the nuts and bolts of the setup, from the Raspberry Pi configuration to the AWS Virtual Private Cloud (VPC) and SSH connections, ensuring a robust and reliable remote access system.
This is the overview of components we need to cover and integrate with each other :
- Raspberry Pi: The "brain" of your remote IoT setup.
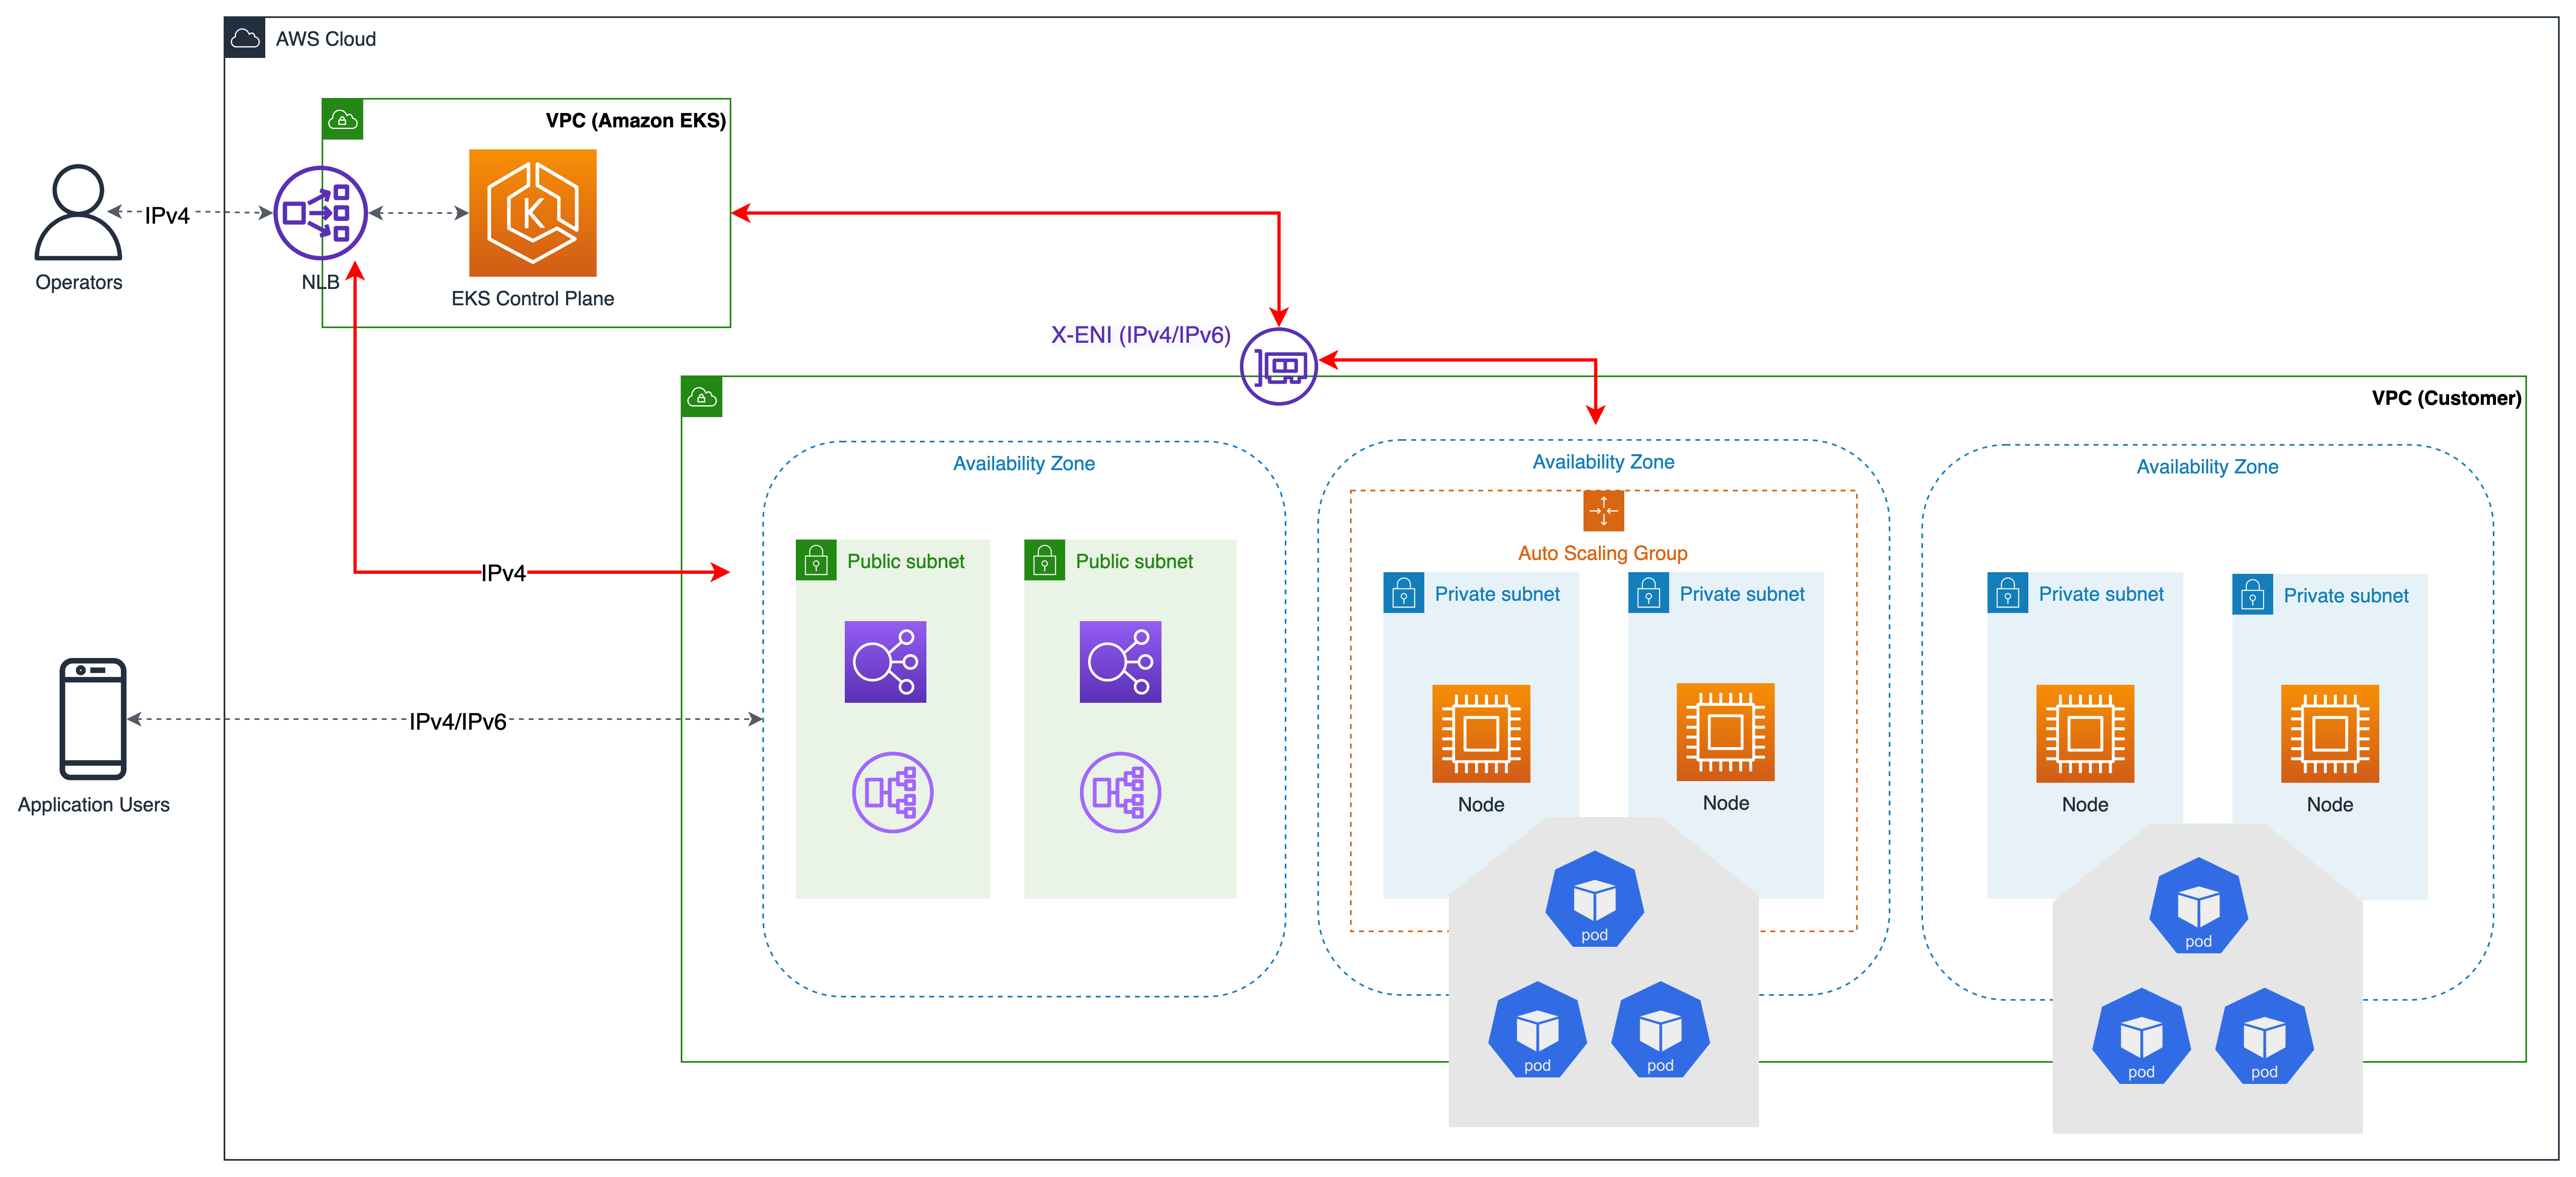
- AWS Account: This includes AWS VPC (Virtual Private Cloud).
- SSH: The secure protocol for remote access.
- Free Tier: Leverage AWS Free Tier for cost-effective setup.
Let's start with what each component offers in detail.
Raspberry Pi:
The Raspberry Pi is a compact, affordable computer that serves as the cornerstone of your remote IoT setup. Its versatility and ease of use make it ideal for various projects, including those requiring remote access. With its ability to run a full operating system, the Raspberry Pi allows you to install and manage applications, connect to sensors and other devices, and establish secure connections to the outside world. You'll need to install an operating system (OS) on your Raspberry Pi. A popular and recommended choice is Raspberry Pi OS (formerly known as Raspbian). This OS is specifically designed for the Raspberry Pi hardware and offers a user-friendly environment. Make sure to download the latest version from the official Raspberry Pi website.
AWS Account and VPC:
AWS provides the infrastructure and services you need to host your remote IoT system securely. To get started, you will need an AWS account. Once you have an AWS account, you can create a VPC, a virtual network isolated from other networks. A VPC allows you to configure your network settings, such as IP address ranges, subnets, and security groups. AWS's vast array of services, including VPC, EC2 (Elastic Compute Cloud), and others, provides the foundation for a scalable and reliable remote access setup. A VPC offers you complete control over your virtual networking environment, including resource placement, connectivity, and security. It provides a high level of security, allowing you to isolate your resources and control access.
SSH:
SSH is a secure protocol used to establish remote access to your Raspberry Pi. It encrypts all data transmitted between your computer and the Raspberry Pi, ensuring that your communications remain private and secure. This is particularly important when accessing your devices over the internet, as it prevents unauthorized access and eavesdropping. With SSH, you can securely connect to your Raspberry Pi from anywhere in the world, allowing you to monitor, control, and manage your IoT devices remotely.
AWS Free Tier:
AWS offers a Free Tier, a program that provides free access to a selection of AWS services within certain usage limits. For this project, you can leverage the Free Tier to avoid incurring any costs during the setup and testing phases. This is a great way to experiment and explore the capabilities of AWS without any financial commitment. The Free Tier allows you to create and manage your own resources. You are not limited by any time constraints. This is especially convenient if you're experimenting with your project or taking a break.
Now let's get started.
Setting up the Raspberry Pi:
The first step is to prepare your Raspberry Pi for remote access.
- Install Raspberry Pi OS: Flash the Raspberry Pi OS onto an SD card. You can use the Raspberry Pi Imager tool (available for Windows, macOS, and Linux) to write the image to the SD card.
- Enable SSH: After flashing the OS, you need to enable SSH. You can do this by creating an empty file named "ssh" (without any extension) in the boot partition of the SD card. This tells the OS to enable SSH upon first boot.
- Configure Wi-Fi (if applicable): If you're using Wi-Fi, you'll need to configure it. You can add a "wpa_supplicant.conf" file to the boot partition of the SD card.
- Boot the Raspberry Pi: Insert the SD card into the Raspberry Pi and power it on.
- Find the IP Address: Once the Raspberry Pi is booted, you need to find its IP address on your local network. You can do this by logging into your router's administration panel or by using a network scanner.
Configuring AWS VPC:
- Create a VPC: Log in to the AWS Management Console and navigate to the VPC service. Create a new VPC. Specify an IP address range (CIDR block) for your VPC, such as 10.0.0.0/16.
- Create Subnets: Create at least one subnet within your VPC. Choose a subnet CIDR block that falls within your VPC's CIDR range. For example, you might create a subnet with the CIDR block 10.0.1.0/24.
- Create an Internet Gateway: An Internet Gateway allows your VPC to connect to the internet. Create an Internet Gateway and attach it to your VPC.
- Configure Route Tables: Edit your route table to direct traffic destined for the internet to the Internet Gateway.
- Security Groups: Create a security group to control inbound and outbound traffic. Configure your security group to allow inbound SSH traffic on port 22.
Setting up SSH access through AWS
- Create an EC2 Instance: Launch an EC2 instance within your VPC. Choose an AMI (Amazon Machine Image), ideally one that is Linux-based. Select the instance type as per your budget and requirements.
- Configure Security Group for the EC2 Instance: Modify the security group associated with your EC2 instance. Ensure that SSH traffic (port 22) is allowed from your IP address (or a broader range if needed).
- Associate an Elastic IP: To ensure your EC2 instance has a static public IP address, allocate an Elastic IP and associate it with your EC2 instance.
- Configure SSH Key Pair: When launching your EC2 instance, you will be prompted to choose an existing key pair or create a new one. This key pair is essential for secure SSH access to your EC2 instance.
- SSH into Your EC2 Instance: Use your SSH client (e.g., PuTTY on Windows or the terminal on Linux/macOS) to connect to your EC2 instance using its public IP address and the SSH key pair.
- Forwarding Traffic: Configure port forwarding on your EC2 instance to direct traffic from the instance to your Raspberry Pi.
Establishing the SSH Connection:
With both the Raspberry Pi and the AWS infrastructure set up, you're now ready to establish a secure SSH connection. The following steps provide guidance for establishing an SSH connection for a typical Raspberry Pi. Note that the precise commands might need adjustments based on your particular setup and the OS you are using.
- Configure SSH on your Raspberry Pi: Make sure SSH is enabled on your Raspberry Pi. This is typically enabled by default in modern Raspberry Pi OS installations, especially if you created the "ssh" file.
- Obtain Raspberry Pi's IP Address: Locate the local IP address of your Raspberry Pi. You can typically find this from your router's admin panel, by using a network scanner, or by directly viewing the Raspberry Pi's network settings.
- Port Forwarding:
- Access Your Router's Settings: Log in to your router's web interface. The specific steps will vary depending on your router's make and model.
- Locate Port Forwarding Section: Find the section related to port forwarding or virtual servers.
- Create a New Rule: Create a new rule or entry for SSH access.
- Set Protocol to TCP: Ensure the protocol is set to TCP.
- Specify the External Port: Choose a port on the external (WAN) side of your router to use for SSH access. A common choice is port 22 (the standard SSH port), but you may want to use a different, non-standard port for added security.
- Enter the Internal IP Address: Enter the internal IP address of your Raspberry Pi.
- Set the Internal Port: Set the internal port to 22 (the default SSH port).
- Save the Configuration: Save the changes and restart your router if necessary.
- Connect to Your Raspberry Pi from the External Network:
- Open an SSH Client: Use an SSH client such as PuTTY (Windows) or the built-in SSH client on Linux/macOS (terminal).
- Enter the Router's Public IP Address: Enter the public IP address of your router.
- Specify the Port: If you used a non-standard port for port forwarding, specify that port number. Otherwise, leave it at 22.
- Enter Raspberry Pi's Credentials: Enter the username and password for the Raspberry Pi. The default username is usually "pi" and the default password is "raspberry" (change the password).
- Establish the Connection: If the connection is successful, you will be connected to the Raspberry Pi's command line.
- Testing the Connection: Once the SSH connection is established, run a simple command to verify it is working. For example, you can list files in the home directory by running "ls -l".
- Troubleshooting Common Issues:
- Firewall Issues: Verify that your router and any firewalls (e.g., on the Raspberry Pi itself or the network) allow SSH traffic (port 22 or your chosen port).
- Incorrect IP Address: Double-check that you are using the correct public IP address of your router.
- Port Forwarding Issues: Ensure that your port forwarding rules are correctly configured on your router.
- Incorrect Credentials: Verify that you are entering the correct username and password for your Raspberry Pi.
- Network Connectivity: Make sure both the Raspberry Pi and your device have a working internet connection.
Best Practices for SSH Configuration
Optimizing SSH configurations for remote IoT access on AWS involves several best practices to enhance security and reliability.
- Use Public Key Authentication: Implementing public key authentication is a critical step in enhancing security. This method eliminates the need to use passwords, which are susceptible to brute-force attacks.
- Generate a Key Pair: You will need to generate a key pair. This can be done on your local machine using the `ssh-keygen` command-line tool (available on most Linux and macOS systems). This command creates two files: a private key (usually named `id_rsa`) that you keep secret and a public key (`id_rsa.pub`) that you will place on your Raspberry Pi.
- Copy the Public Key to Your Raspberry Pi: Copy the contents of your public key file (e.g., `id_rsa.pub`) to the `~/.ssh/authorized_keys` file on your Raspberry Pi. If this file does not exist, you can create it. This file tells the Raspberry Pi which public keys are authorized to log in.
- Configure SSH on Your Raspberry Pi: Ensure that your SSH configuration file (`/etc/ssh/sshd_config`) on your Raspberry Pi is set up to require key authentication. You can do this by setting `PasswordAuthentication no` (to disable password login) and `PubkeyAuthentication yes` (to enable public key authentication). You may also need to restart the SSH service after making changes.
- Test the Authentication: Try to connect to your Raspberry Pi using your SSH client without entering a password. If the setup is successful, you should be able to log in seamlessly.
- Disable Root Login: Disabling root login is crucial to prevent unauthorized access and enhance security. By default, the root user has unrestricted access to all system resources.
- Edit the SSH Configuration File: Open the SSH configuration file (`/etc/ssh/sshd_config`) on your Raspberry Pi with a text editor.
- Disable Root Login: Find the line that says `#PermitRootLogin yes` or `PermitRootLogin yes`. Uncomment this line (remove the `#` character) and change `yes` to `no`. If the line doesn't exist, you can add `PermitRootLogin no` to the end of the file.
- Restart the SSH Service: Save the configuration file and restart the SSH service to apply the changes.
- Test your configuration: Attempt to login as the root user. Your connection should be denied.
- Change the Default SSH Port: Changing the default SSH port from the standard port 22 to a non-standard port is a straightforward way to reduce the risk of automated attacks and improve the overall security.
- Edit the SSH Configuration File: Open the SSH configuration file (`/etc/ssh/sshd_config`) using a text editor.
- Change the Port: Locate the `Port 22` line. You can change the port number to anything that is not already in use on your system, the common choice is to use a port number higher than 1024 and lower than 65535. For example, you might set `Port 2222`.
- Restart the SSH Service: Save the configuration file and restart the SSH service.
- Update Firewall Rules: If you are using a firewall, update your firewall rules to allow incoming traffic on the new port.
- Update SSH Client Configuration: When connecting to your Raspberry Pi, you need to specify the new port. Use the `-p` option in your SSH client followed by the new port number (e.g., `ssh pi@ -p 2222`).
- Implement Two-Factor Authentication (2FA): Implementing two-factor authentication (2FA) provides an additional layer of security by requiring a second method of verification beyond the password, significantly enhancing the safety of SSH access.
- Install an Authentication Application: Install an authentication app, such as Google Authenticator.
- Install a PAM Module: You will need to install a PAM (Pluggable Authentication Module) that supports 2FA, such as `google-authenticator` or `libpam-google-authenticator`.
- Configure the Module: Run the setup command for the PAM module you installed. For example, if you are using `google-authenticator`, run `google-authenticator`. This will generate a QR code.
- Scan the QR Code: Scan the QR code with your authentication app.
- Edit SSH Configuration: Edit the `/etc/pam.d/sshd` file to enable 2FA. Add the following line at the beginning of the file: `auth required pam_google_authenticator.so`.
- Test the Configuration: You will be prompted for both your password and a time-based one-time password (TOTP) from your authentication app to authenticate.
- Regularly Update Software: Keeping your Raspberry Pi's software updated is critical for security. Updates often include patches for vulnerabilities that could be exploited.
- Update the Operating System: Regularly update the operating system and its packages. You can usually do this with the following commands in the terminal: `sudo apt update` (to update the package lists) and `sudo apt upgrade` (to upgrade installed packages).
- Automate Updates: Consider setting up automated updates to ensure you're always running the latest versions of the software. Tools like `unattended-upgrades` can handle this.
Comparison with other remote access solutions
There are other remote access solutions available, each with its own advantages and disadvantages. Heres a comparison to help you choose the best one for your needs.
| Solution | Pros | Cons | Use Cases |
|---|---|---|---|
| Remote IoT VPC SSH with Raspberry Pi on AWS |
|
|
|
| VPN (Virtual Private Network) |
|
|
|
| TeamViewer/AnyDesk |
|
|
|
| Cloud-Based IoT Platforms (e.g., AWS IoT Core, Azure IoT Hub) |
|
|
Future trends in remote IoT technology
The remote IoT landscape is continuously evolving, with several emerging trends shaping its future.
- Edge Computing: Edge computing is bringing computation closer to the data source, reducing latency and bandwidth requirements. This means that data processing can happen on the Raspberry Pi itself, enabling real-time decision-making and reduced reliance on cloud infrastructure.
- 5G and Enhanced Connectivity: The deployment of 5G networks provides high-speed, low-latency connectivity, enabling more reliable remote access to IoT devices.
- AI and Machine Learning at the Edge: AI and ML are increasingly being integrated into IoT devices, allowing them to perform complex tasks locally and make smarter decisions.
- Blockchain for IoT Security: Blockchain technology is being used to enhance the security and trust of IoT devices. Blockchain can secure device authentication, data integrity, and secure data sharing.
- Low-Power Wide-Area Networks (LPWAN): LPWAN technologies, such as LoRaWAN and NB-IoT, allow devices to communicate over long distances with low power consumption, making them suitable for IoT deployments in remote locations.
- Advancements in Security: Quantum-resistant cryptography and more sophisticated intrusion detection systems are being developed to protect IoT devices from cyberattacks.
Successful Implementations of Remote IoT VPC SSH
Several successful implementations showcase the versatility and effectiveness of remote IoT VPC SSH.
- Remote Lab for Students: Educational institutions can set up remote labs, allowing students to access and control IoT devices from their homes or other remote locations.
- Environmental Monitoring Systems: Remote IoT VPC SSH is used to set up environmental monitoring systems.
- Smart Agriculture: Farmers can use remote access to monitor and control irrigation systems, soil sensors, and weather stations, optimizing crop yields and resource usage.
Best practices for remote IoT VPC SSH
Here are some of the best practices for remote IoT VPC SSH.
- Prioritize Security:
- Employ strong authentication methods (public key authentication and two-factor authentication).
- Regularly update software and firmware to address vulnerabilities.
- Disable unnecessary services and ports.
- Network Configuration:
- Use a VPC with well-defined subnets for network segmentation.
- Implement robust firewall rules (security groups) to restrict access to necessary ports and IP addresses.
- Device Management:
- Implement a robust monitoring system to track device health, resource utilization, and performance.
- Use automated configuration management tools to manage and update devices.
- Data Management:
- Encrypt all data in transit and at rest.
- Implement data validation and integrity checks.
- Establish a clear data retention and deletion policy.
- Documentation:
- Maintain comprehensive documentation of your setup.
- Document all configurations, including network settings, security settings, and device configurations.
- Regular Audits:
- Conduct regular security audits to identify and address vulnerabilities.
- Review logs regularly to detect any suspicious activity or unauthorized access attempts.
- Backup and Disaster Recovery:
- Establish a robust backup and recovery plan to protect against data loss or system failures.
- Implement automated backups of critical configuration files and data.
- Test your recovery plan regularly.
Remote IoT VPC SSH On Windows 10 A Comprehensive Guide

Securely Connect Remote IoT VPC AWS Not Working On Windows A

How To Master Remote IoT VPC SSH Access With Free AWS Tools
